Crocheted rag rugs are a quick project that can be completed in a couple of evenings and will add warmth and coziness to your home. They are the ultimate zero-waste project for your homestead.
You only need to look as far as your closet for yarn.
While you’re cleaning out your closets and preparing for a gentler, more sustainable wardrobe, you’ll end up with bags clothes that are worn, stained, or no longer worthy to pass on, especially jeans and t-shirts. Many of you have bags, and bags of worn-out jeans and t-shirts that are waiting for a new start or are waiting for you to fit into them again. Crocheted rag rugs are a quick project that can be completed in a couple of evenings and will add warmth and coziness to your home.
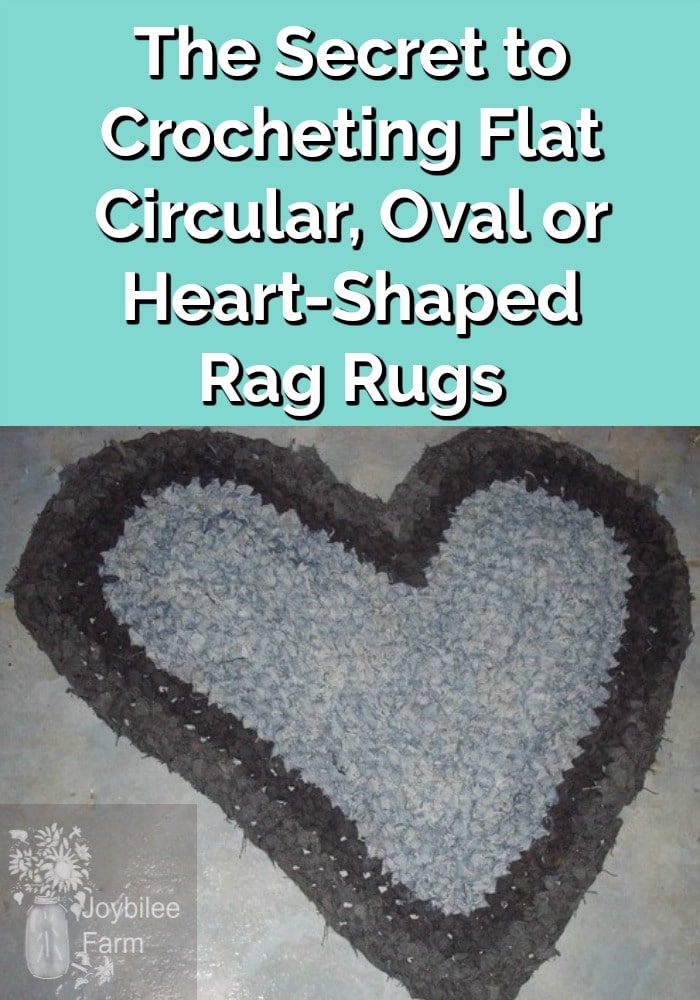
The problem with crochet rag rug patterns
Many rag rug patterns, especially heart-shaped, oval, and circular rugs tell you to increase whenever it seems right to you. The problem with this instruction is that you need quite a bit of crocheting experience behind you before you can always know when to increase. If you are just starting out in crocheting rags, you may have to crochet a few wavy rugs, that don’t lie flat, before you have enough experience to always increase at the right moment, and to guarantee a flat rug that is symmetrical and pleasing to the eye.
I clipped a heart rag rug pattern from a craft magazine in the 1980s that gave me this trouble. It was a lovely calico rug crocheted from coordinating fabric. I tried the rug first in yarn and it buckled and waved mercilessly. No way was I going to cut up expensive 100% cotton quilt fabrics to make this, knowing that it wasn’t going to lie flat.
Fast forward 30 years and I now have the experience to guarantee success. You don’t have to wait 30 years, because I’m going to share the secret in this article.
The secret ingredient to flat rugs is as easy as pi
The secret missing ingredient to always crocheting a flat circle, or heart, or oval is π.
Now don’t tell me you hated math and that your eyes are glazing over at the mere mention of π. This is the key to all circles. The area of a circle is πR2. This gives us a hint. The radius of a circle is a line halfway through the circle. So to find the area — what you are crocheting when you make a rag rug — you need to know pi.
The other useful pi measurement is the circumference of the circle — the measurement that goes all the way around the circle and its expressed as π2r. When you are crocheting a circular rag rug you are working around the circumference of the circle, which gets larger with every round. So how does that apply to your work?
Stay with me and I’ll show you.
Once you understand this principle you can apply it to crochet and knitting in the round wherever you need a flat circle, whether for a rug, a circular shawl, or a circular blanket. π is the number 3.14. This is an approximate equivalent. If you want to know more about the magical number π check out this article. For our purposes we’ll round the number down to 3. Now since this is related to the radius and diameter of the circle we’ll understand this to be 3 as the key to a semi-circle, making 6 the key to the full circle.
Are you still with me?
Knitting a flat round rag rug circle using pi
When knitting, each round is made up of 2 rows so in knitting we would increase 6 stitches evenly, every 2 rounds to keep a round piece of knitting flat. Since pi is actually a bit bigger than 3, every 16th round we might increase one extra stitch to keep the work flat.
Crocheting a flat circle using pi
In crochet, each round is made up of a single row in single crochet, so to crochet a flat circle for a rag rug, we increase 6 stitches evenly every round.
This is usually expressed in instructions such as:
Chain 4. Make a ring. Crochet 6 sc inside the ring. Slip stitch into first stitch in the round. Chain 1.
2nd round. Crochet 2 sc in each sc of previous round. Slip stitch into first stitch in the round. Chain 1.
3rd round. *Crochet 2 sc in next st, sc in next st.* Repeat for round (18st.) Slst into first stitch in the round. Chain 1.
4th round and following: Increase the number of sc between increases in every round, until the rag rug is desired size.
Since π is actually a larger number than 3, you may need to increase 1 extra stitch every 8 rows to keep your work flat. This won’t be necessary when working with a stretchy yarn like T-shirt yarn.
If you always increase in the same spot, then you will create a hexagon instead of a circle, but by alternating the spot where the increase lies you can maintain your circular shape, hence the reason many old-time patterns told you to increase as necessary to keep the work flat.
Oval rugs in crochet
When creating an oval rug you should think of it as two semi-circles attached by straight lines. That gives you a clue as to how to increase. You will increase just 3 stitches, evenly at the two ends of the oval and do straight crochet, without increases along the two sides of the oval, for a total of 6 increases per round.
Heart shape crochet rag rugs
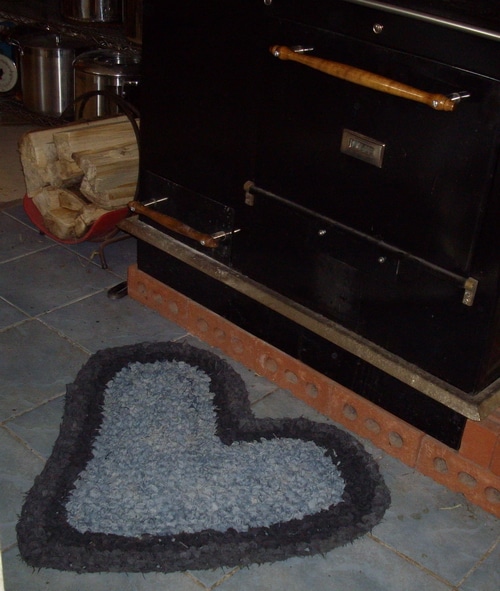
Now we’ll put together everything that you’ve learned and crochet a heart-shaped rag rug.
When creating a heart-shaped rug, think of it as two semi-circles with a valley between, and a right angle at the bottom.
You will increase 3 stitches, evenly around the hill of each semicircle, decreasing two stitches between hills for the valley, crochet straight for the side and increase 2 stitches at the right angle, increase 1 on either side of the corner, and then back up the straight side. This will always make a perfect heart shape, that lies flat.
Again you may need to add one additional increase in each “hill” about every 10 rounds to keep the heart flat. Try to place your increases around the hills of your heart so that you make a semi-circle rather than a half- hexagon shape. And so that your two heart hills remain even in size, alternate which side of the valley you decrease in.
So now that you understand the principle behind the directions, here’s the pattern for a heart-shaped rag rug. Once you’ve made a few of these your fingers will understand the principle, too.
Heart rag rug pattern that lies flat every time
It actually takes longer to cut the rag strips than it does to crochet this rag rug, so don’t be intimidated by the many words.
(Caution: Cutting up old jeans and t-shirts is very dusty. Avoid breathing in the cotton lint. Wear a dust mask while cutting and while working with the strips. You’ll be happy you did. It doesn’t take long to do the project but the effect on your lungs, without a mask, can be felt for a few days to a few weeks. Wear a mask and protect your health.)
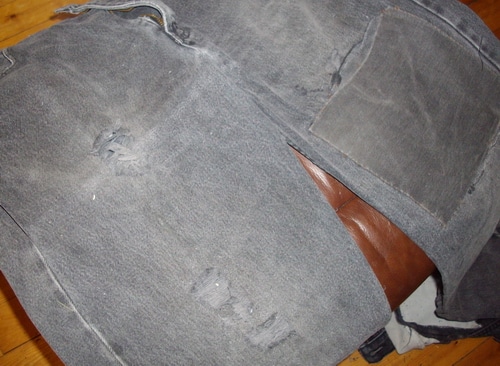
Cut rag strips as follows:
Denim from worn jeans: Cut into 1/2 to 3/4 inch strips
T-shirt yarn: Cut into 1 inch to 1 1/2 inch strips
Make plarn from plastic bags and cut into 1 1/2 inch to 2-inch strips
Be sure to wear a dust mask when cutting up linty cotton or poly fabrics to protect your lungs. 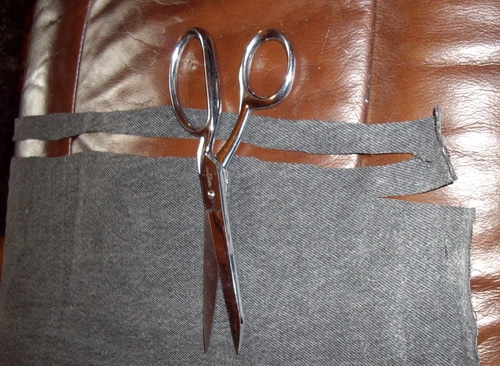
The hook:
Use a 15mm wooden crochet hook. Robin made me a wooden crochet hook for making rag rugs that’s a little longer than the average crochet hook, so it’s easier on your hands and gives you a bit more strength.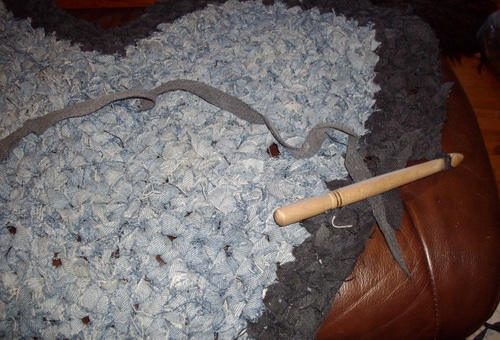
Directions:
Using the large crochet hook and rags chain 35 stitches.
In 2nd chain from hook crochet 3 sc in each of next 14 chains. Skip next 2 stitches. sc in each of next 14 chains. 3 sc in next chain, continue around the back of the starting chain, sc in next 14 chains, 2 sc in each of next two chains, the two you skipped for the valley. This is the peak corner of your heart. Sc in each of next 14 chains. Chain 1. Slip stitch in next sc. The first round is done.
2nd round: 2 sc in each of next 3 sc. (hill made) sc in each of next 13 stitches. Skip next 2 stitches. (valley made) Sc in each of next 13 stitches. 2 sc in each of next 3 stitches (hill made), sc in next 15 stitches, 2 sc in each of next two stitches, (corner made) sc in each of next 15 stitches, slip stitch in next sc. 2nd round complete.
3rd round: 2 sc in next stitch. 1 sc. in next stitch, 2 sc in next. st. 1 sc in next st., 2 sc in next st, 1 single crochet (3 increases made), sc in each of next 12 stitches. Skip next 2 stitches. Sc in each of next 12 stitches. 2 sc in next stitch. 1 sc. in next stitch, 2 sc in next. st. 1 sc in next st., 2 sc in next st, 1 single crochet (3 increases made), sc in each of next 16 stitches. 2 sc in each of next two stitches, sc in each of next 16 stitches, sl st in next sc. 3rd round completed.
4th round and each round following: Increase 3 stitches evenly in every hill, decrease 2 stitches in the valley and increase 2 stitches in the corner. Crochet evenly on all straight sides.
Continue in this manner until the heart is the size that you want. For a mid-size rug that will work at your kitchen sink or by the back door plan for 12 rows, and about 5 pairs of worn-out jeans. Finish with a slip stitch in the final stitch of the round.
How to attach a new piece of yarn in crochet
To attach a new piece of rag, drop the old piece and begin the new piece in the next stitch. Carry the end of the new yarn and the end of the old yarn along in the dip under the stitch, securing the loose ends under your new stitches. Secure with at least three stitches before cutting ends. Don’t tie a knot.
If you found this article helpful please share it with your friends, mention it on Facebook, Tweet about it and Pin it. I did.
Back to You:
What’s your favorite way to upcycle blue jeans, and t-shirts? Leave a comment and let me in on your secret to successful upcycling.
Zero waste ideas for a sustainable life
The Zero Waste Home One Step at a Time
42 Zero Waste Living Habits for Living Green that Will Save You Money



Have been looking for a pattern to make a braided wool heart shaped rug. My only help was through an old magazine, instructions are so vague I’ve not been able to figure out how its done. Can you help.?
I really wanted it braided not crocheted. Have made oval and round with no problem, but to get the heart shape is tricky. Thanks in advance.
Love this. I repurpose most of my fabrics for rag rugs. They are the ONLY thing I can crochet correctly and I don’t think I’ve ever made a heart.. I’m going to try. I love my half ovals at the doors, long rectangles for bathroom rugs, and ovals pretty much everywhere else. I started making these over 25 years ago to decorate my base housing. Everyone in my family loves them. They are durable but not irreplaceable because if they get get to a used up point ..make a fresh rug.
Fast fun way to brighten up the house and inexpensive (if your not buying 12 yards of brand new fabric) by using clothing, towels etc that have stains, bleach spots etc.
I’ve also made a few rugs using the locker hook technique and while they are sleeker they don’t have that soft feel when you step on them that you get with crochet.
Do u have videos
Thank you for unleash the myth. I used your method to do a bit of experiment exploring and simplify as the following: just add the same amount of the stitches you have in round one. Am I right of my math? Thx