What’s an Havdalah candle
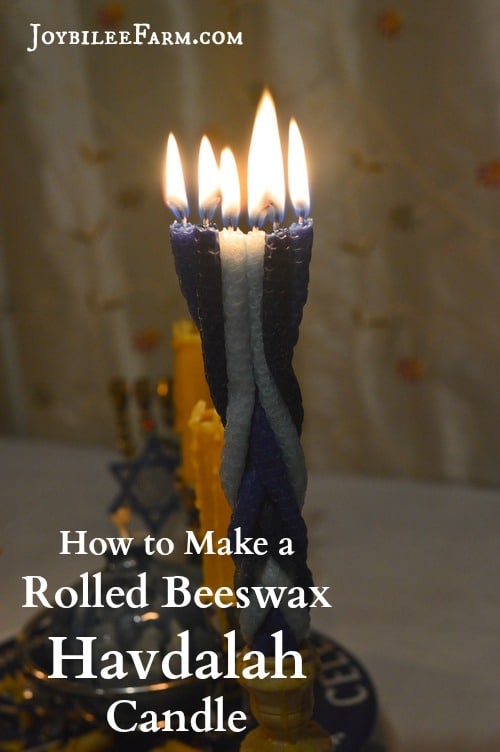
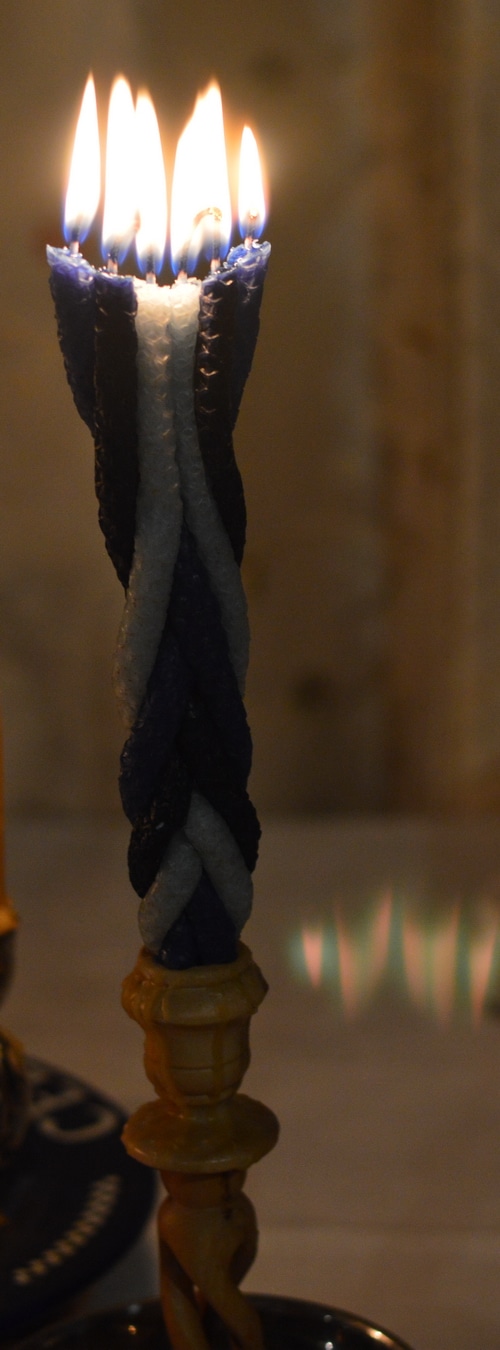
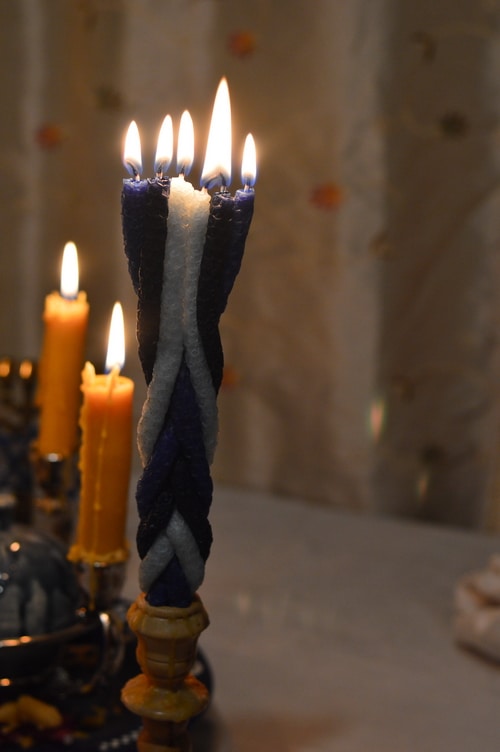
A Havdalah candle is lit at the end of Shabbat, on Saturday night, to mark the change from the sacred Sabbath to the mundane every day. The Havdalah candle must have more than one wick. Many sources suggest 6 wicks to represent the 6 days of the work week. As long as there are at least 2 wicks in the candle, you’re good. There are many, very beautiful examples of Havdalah candles online.
Havdalah means “separation”
The meaningful Havdalah ceremony is extra-biblical, but steeped in meaning. Find out more here and here. For a Messianic Jewish Havdalah ritual see Hebrew for Christians (pdf).
Havdalah (הַבְדָּלָה) is Hebrew for “separation” and signifies the separation that ends the Sabbath day, on Saturday night, and begins the week. Different Jewish traditions have different ways of using the Havdalah candle.
The lighting of the Havdalah candle is accompanied by sweet smelling spices, like clove and cinnamon, as well as wine. The candle itself is lit. Blessings are spoken. The Kiddush cup is filled. The family smells the sweet spices. They admire the light of the candle. And then the huge flame is extinguished in a small amount of wine. Songs and wine end the brief ceremony.
The Havdalah in Art
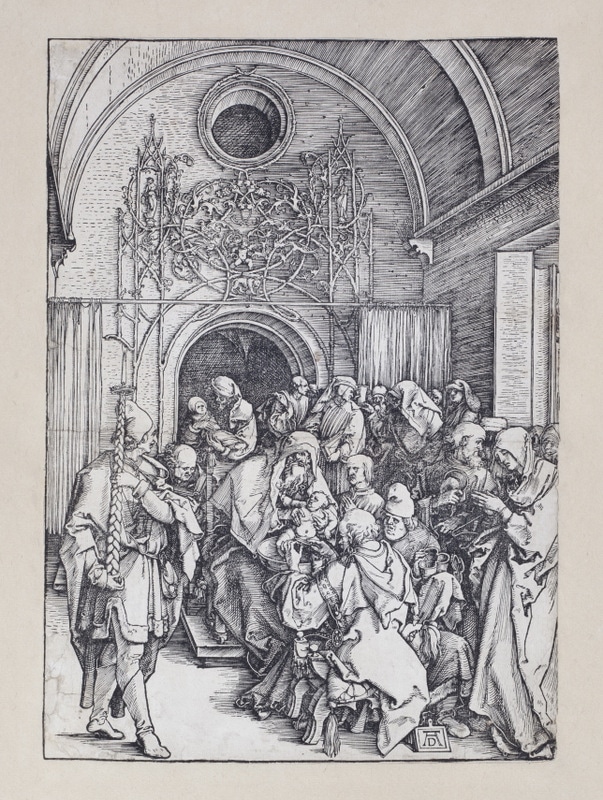
Artist, Albrecht Durer makes use of the Havdalah candle twice in his works. An Havdalah candle appears in Durer’s Woodcut “The Circumcision of Christ”.and signifies Yeshuah/Jesus’ set-apartness, as a Jewish boy, and as the Jewish Messiah.
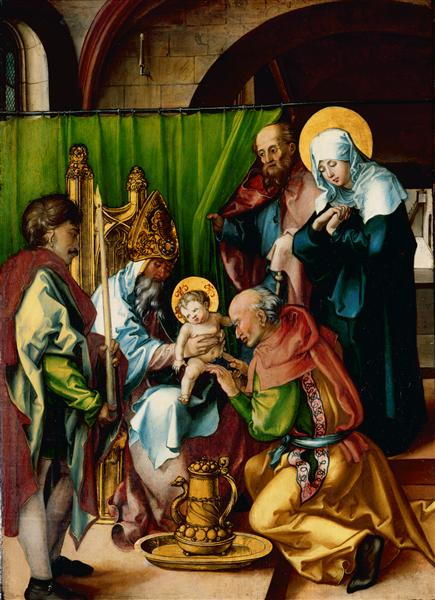
Durer uses it in his 1497 painting of “The Circumcision” in his series The Seven Sorrows of Mary, again signifying the set-apartness of Yeshuah/Jesus.
How to make a rolled beeswax Havdalah Candle
When you see how beautiful the Havdalah Candle is, and how very simple it is to make, I’m sure you’ll want to find out more about this beautiful custom.
If you’ve never made a rolled beeswax candle before see the tutorial on rolled beeswax candles, and rolled beeswax Chanukah candles, to familiarize yourself with the technique.
Materials:
3 sheets of honeycomb beeswax in 3 different colours
4 ½ feet of #2/0 wick
Equipment:
Hairdryer
Ruler to measure wax
Scissors or sharp knife to cut the wax and wick
Cutting surface
Drop cloth to protect rolling surface
Method:
Protect your work surface from candle wax and dye with a plastic table cloth or drop cloth.
To make a Havdalah candle you’ll need 3 colours of honeycomb beeswax sheets. 3 sheets will allow you to make 4 Havdalah candles. Since you extinguish the Havdalah candle at the end of the ceremony, rather than allowing it to burn out on its own, one candle will last for several lightings.
Measure the wicks
Note that a #2/0 wick is smaller than a #2 wick. Candle wicks increase in size from #0 to #7, but decrease in size from #0 to #2/0, #3/0 etc. A #2/0 wick is small enough for the very narrow candles you’ll be making to braid your Havdalah candle. It should burn without smoking or dripping.
Each wick should be 8 ½ inches long. You need to cut 6 wicks for each braided Havdalah Candle.
Find the upside of the wick
Important: The wick has an upside. Find the upside of the wick. Look closely at the flat side of the braided wick. You’ll see “V”s going down the length of the wick. The wick is right side up when the “V”s point down. If the “V”s look like this “^” instead, turn the wick over. You want all the “V”s right side up in the wick, so that the top of the wick is in the top of the candle.
Cut the Beeswax Sheets
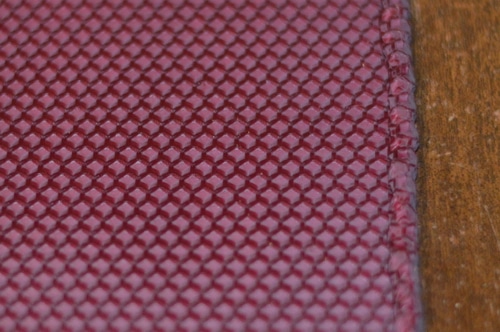
A beeswax sheet is approximately 8 ¼ inches by 16 inches. Measure the beeswax sheets along the 16 inch side. Divide it into 2 inch wide x 8 ¼ inch strips. Each sheet will give you 8 strips, for a total of 24 strips between the 3 sheets.
Roll the candles
Working with one strip of wax at a time, warm the wax slightly with a hair dryer. Don’t let the wax get too soft though. With practice you’ll learn when the wax is soft enough to roll without cracking but not so soft that it crumbles in your fingers.
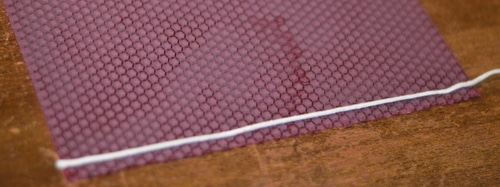
Lay the wick, right-side up along one edge of the strip of wax. Allow the top of the wick to overhang the wax strip. This indicates the top of the candle.
Gently fold the edge of the wax over the wick to tightly encase it. Only the top of the wick should be visible.
Roll the candle over the wick.
Continue rolling until the candle is done. Since the candle is so narrow you won’t need to reheat it to seal the join. Just roll it on the table a few times to correct its shape.
Repeat with 5 strips, in 3 different colours.
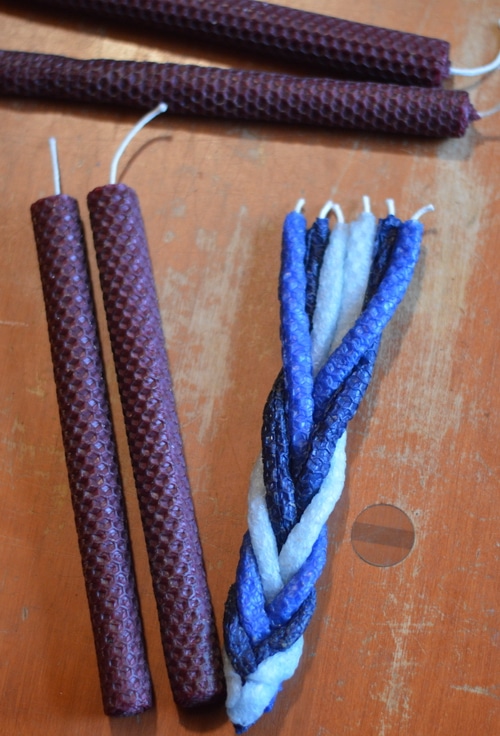
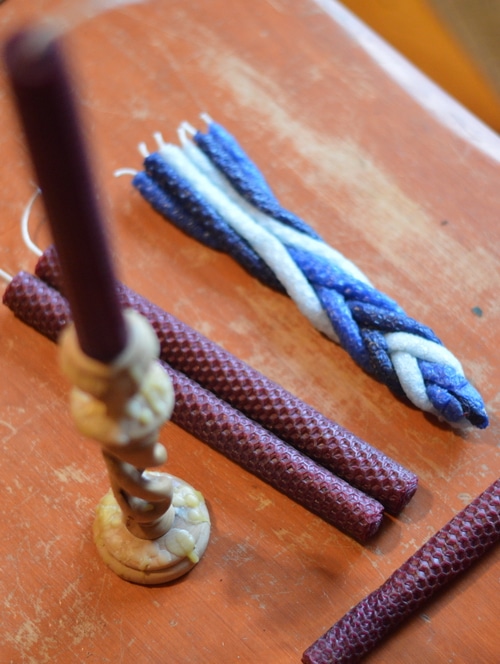
You’ll have 6 narrow 8 inch candles – 2 in each of 3 colours.
Braiding the candle
Place the 6 candles side by side on the table in front of you, with the wicks toward you, and the base of the candles away from you. Variations in the braiding pattern can be made by the placement of the colours of the candles. For now, place the colours together in pairs. Dark, Dark, Light, Light, and Medium, Medium.
Line up the top of the candles so they are even. Slightly bend the candle bodies, in pairs, away from each other to make braiding easier.
Taking the two medium candles, and keeping the tops of the candles even with the others, braid them over the middle column of the two light coloured candles. The Medium candles are now in the middle. Braid the two dark candles over the medium candles. The Dark candles are now in the middle. 1 round of braid made.
Continue braiding the wax candles, ensuring that the tops of the candles remain even, and together. At the second round of braiding it is easier to take one of the pair and braid it, followed by the second of the same pair. Then take the alternate pair and braid them one candle at a time, to get a tight flat braid. Each round of braiding goes over the centre pair of candles, and each one of each pair is laid down side by side, rather than overlapping, so that the candle remains flat.
Continue in this manner until only 3 inches remains at the bottom of the candle. Then work with 1 candle strand at a time, bringing the outside candle to the middle, alternating right and left.
If the strands become less flexible, warm them gently with the hairdryer.
Forming the base of the candle
Once the candle is finished, form the bottom of the candle into a round cylinder to fit into a regular candle holder. Correct the shape by rolling it gently between your thumb and forefinger. If you have a special Havdalah candle holder, you can leave the bottom of the candle flat, so that it will fit the candle holder that you have. Check the shape of the base of the candle against your candle holder, while the candle is still warm. Make any corrections necessary to have a candle that is stable in your candle holder.
Here’s how an expert braids an Havdalah candle:
Use with appropriate caution
As with any candle please use caution around the open flame. The Havdalah candle has a much bigger flame than normal candles and therefore caution is necessary when it is lit.
Have additional liquid available to extinguish the flame quickly should it become dangerous. Children should never be near an open flame without adult supervision. Never leave a burning candle unattended.
Back to you:
Candles are used for sacred and everyday purposes. How do you use candles in your home? Do candles form a meaningful part of your day? Your week?



Leave a Reply