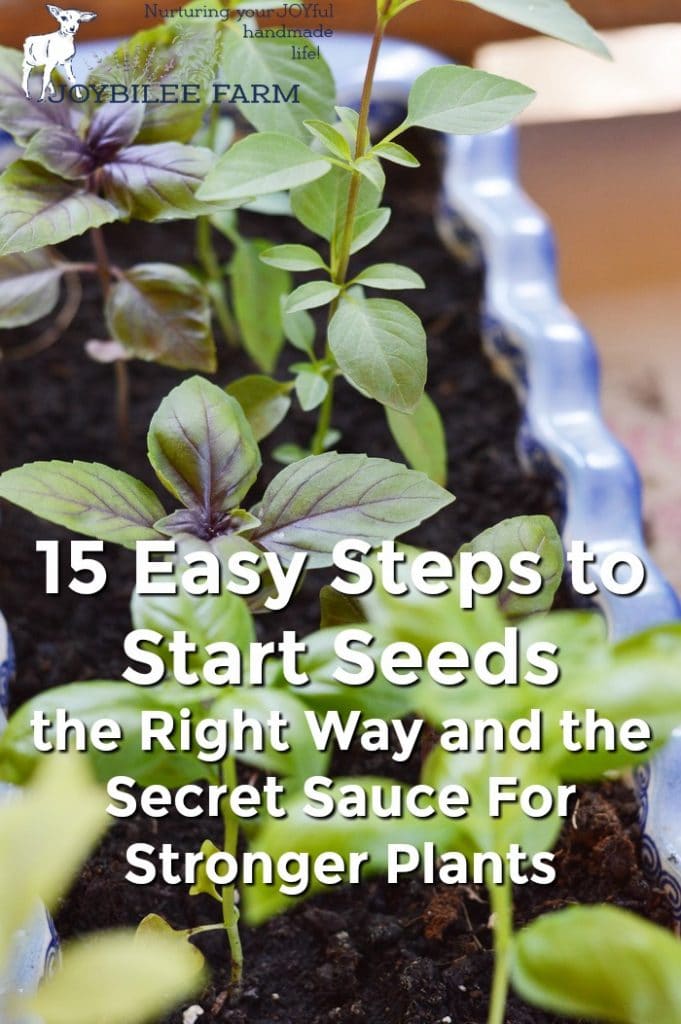
Follow these easy steps to start seeds in your climate and you’ll be rewarded with stronger plants with resilient health that give you timely, trouble-free harvests.
When you are gardening in a difficult climate giving seeds a head start can make a huge difference in your harvest in a few months. But it isn’t as easy as just shoving a few seeds into some soil, pouring on the water, sticking the pot on a window sill and waiting. If it was everyone would be doing it. It takes a little bit of know-how to get this right. In this email I’m including a few of the tricks I use — the secret sauce — to get vegetables growing and herbs producing, even though I live where the frost can interrupt my plans any day of the year.
How to start seeds
- You’ll need seed starting mix. You can buy it at the hardware store or the garden store or you can mix your own. This recipe from Quinn at Reformation Acres is perfect with enough fertility to let your plants thrive when you start seeds.
- Pour the seed starting mix into a bucket and moisten it with water.
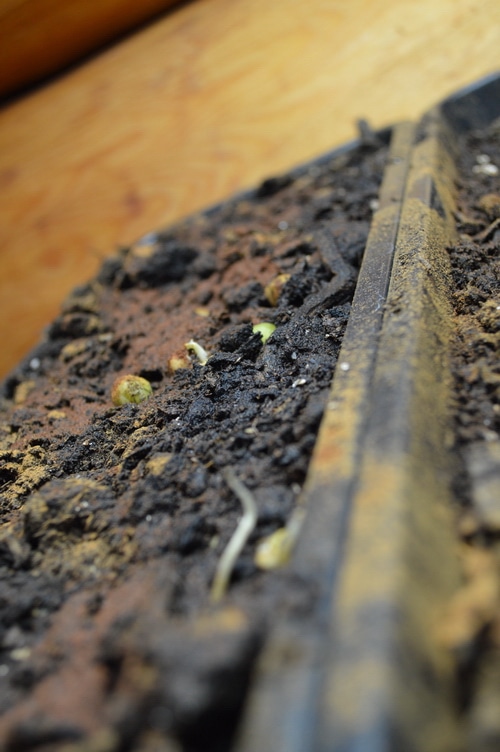
- Get your pots ready. If you are using recycled planting pots, clean and sanitize them thoroughly. You can also use coir pots, which protect the root system of your seedlings or even soil blocks. I use coir pots for plants that don’t like to be transplanted and washable pots for plants like tomatoes that can handle their roots being disturbed.
- Fill containers with pre-moistened soil to just below the rim.
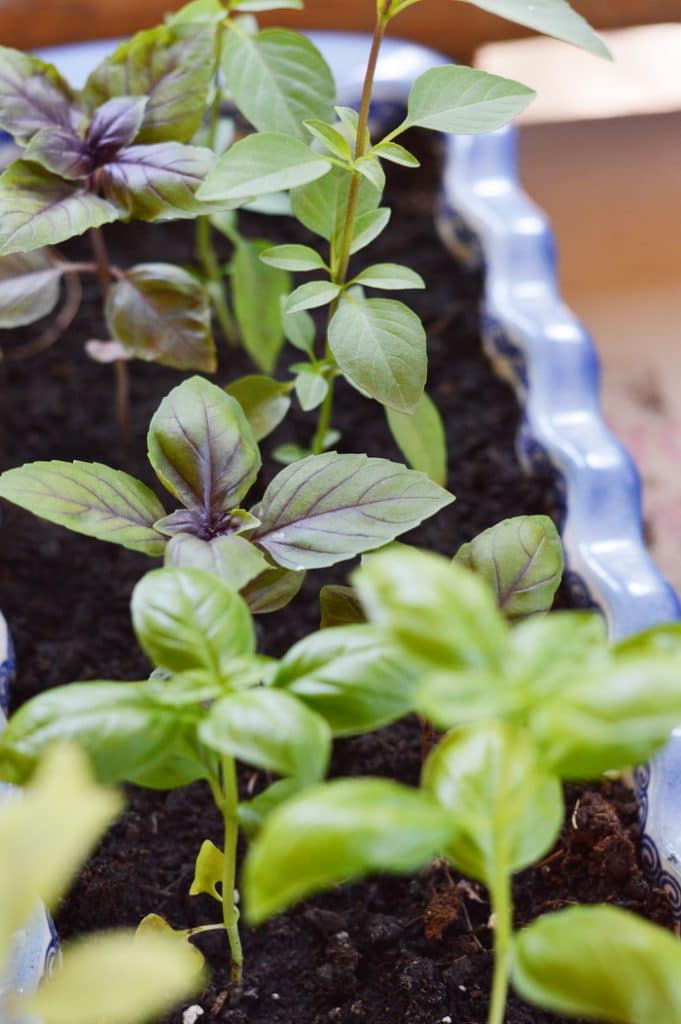
- Use fresh seed when you start seeds. If your seed is from a previous year, check your germination before planting. Don’t just plant a lot of seeds in one pot. Your seedlings will crowd before they even get tall enough to send out their first true leaves.
- Know the correct time for seed starting. Start most herbs and vegetables 6 to 8 weeks before the right time for planting out in your area. Onions are the exception and should be started 8 to 12 weeks before you are ready to plant them out for your area.
For instance in my area, most gardens go in on the third week of May. I can start my seedlings, including tomatoes after March 25 (8 weeks before planting time) to April 8th (6 weeks before planting time.) My last frost date is June 10th, about 2 to 3 weeks later, but since my tomatoes grow in a greenhouse, I can start them next week. If I was planting tomatoes outside in the ground, I could wait a little longer before starting them — as late as April 15th. If you start your plants too soon you risk them getting too big and “leggy” before they can be planted, which weakens the plant.
- Plant the seed according to the package directions. This will tell you whether the seed needs light to germinate or whether it requires a period of colder temperatures before planting (stratification). Plant seeds according to the individual needs of the seed.
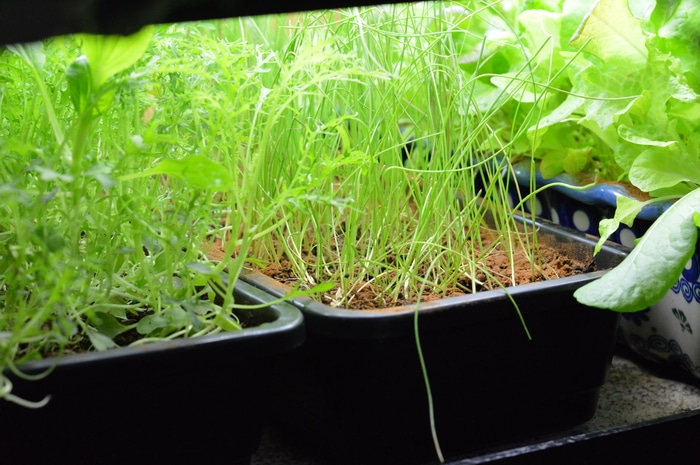
- Sprinkle cinnamon, cayenne, or ginger powder on top of the soil surface to inhibit damping off disease. You can use older spices for this. These spices are antibacterial and antifungal. The stronger spices — ginger or cayenne — also inhibit white fly, spider mites, and indoor pets, so if one of these is a problem for you, use one of the stronger spices on the soil surface. Reapply the powdered spice about once a month or if you notice the spice getting water logged.
- Cover with a plastic lid, plastic wrap, or a piece of beeswax impregnated cloth, to hold in moisture. This is important. You want to keep the soil surface from drying out before the seed germinates and comes up.
- Place the planting pot in a warm spot or use a plant heat mat to add bottom heat.
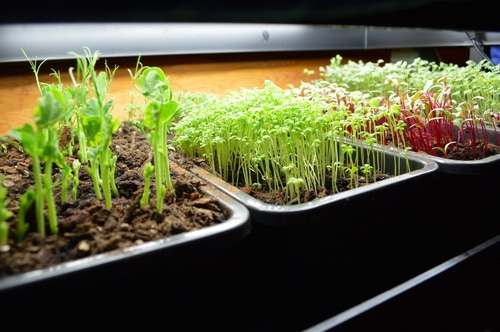
- Wait for 4 to 14 days. Check daily after 5 or 6 days for germination. Once you see germination remove the plastic wrap (or other cover)
- Transfer seedlings to a spot that has supplemental lighting. In most places, the light coming in from a window is not strong enough to help seedlings grow. Without supplemental lighting, plants grow leggy with weak stems. Adding supplemental lighting — a grow light or a full spectrum LED light — will ensure that plants have the light they need to grow strong. Light is like food and nourishment for plants. Place the light about 4 inches above the plant leaves and raise the light higher (or lower the plants) as the plants grow taller. Set the grow light on a timer to give 12 to 18 hours of light every 24 hours. This will help your plants stay compact and strong.
- Once the seedlings have their 1st true leaves, cull the weaker seedlings from the pot, by pinching them off at root level, leaving just one strong seedling in each 2 inch pot. Remove the bottom heat if you haven’t already done so.
You can transfer seedlings to larger pots as they grow larger. Prevent plants from getting root bound by transplanting them into larger containers as often as necessary to ensure strong growth.
- Plants like Kale, cabbage, broccoli, and cauliflower can be transplanted into the garden around midMay or when soil temperatures reach 50F in your area. Tender vegetables like tomatoes, cucumbers, and squash should be transplanted into a protected spot in a greenhouse or cold frame, OR they can be planted outside when all danger of frost has passed.
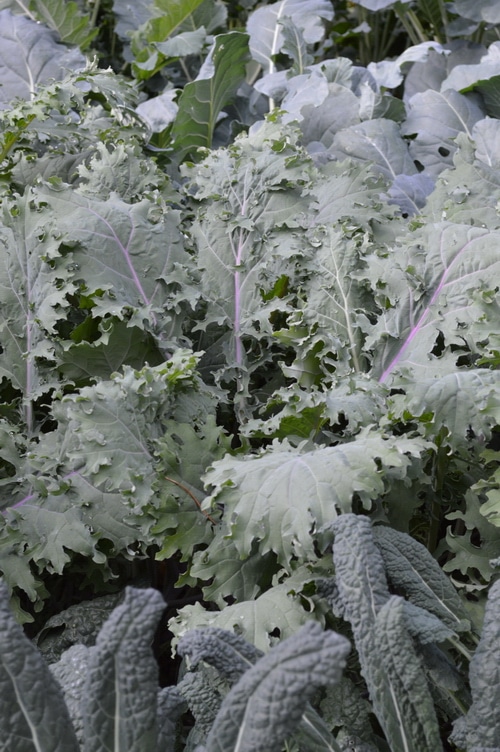
- Harden off seedlings before planting them out in their permanent location. See this post by Grow a Good Life for how to harden off seedlings.
When you are ready to transplant your seedlings outside to their permanent location, plan to add some herbs and umbellifers to your garden design. Companion planting with herbs and especially umbellifer-type herbs can work miracles in YOUR garden like they did in mine. I found out this “secret sauce” by accident but you don’t have to wait until you accidentally stumble upon it — use it on purpose for some great results — better vegetables, more pollinators, less insect damage, without chemicals. See Companion planting with herbs, for the specifics.
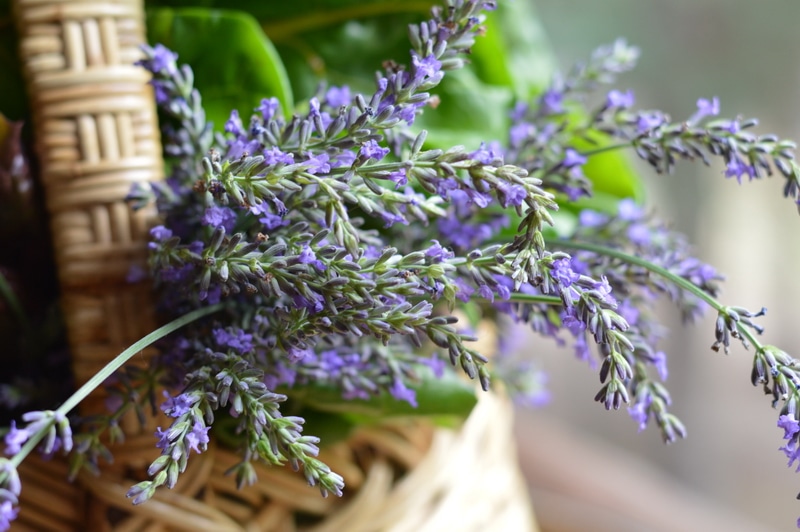
And if you are like me and find some herbs quite challenging to grow in your soil or climate you want to have a look at this post to see how easy it is to tweak the growing environment so that you can successfully grow some of these herbs right where you live. These herbs actually are easy to grow with the tweaks in this post AND these tweaks mean less work for you and more time to enjoy your garden.



I am glad to have found your web site! I was searching Google about feeding my apple trees and stumbled on to your site. The article about the apple trees was so helpful. I read two more and saved 4 to Pintrest to read later.
Thank you!
Linda Barlau