10 Tips for Better Coiled Pine Needle Baskets From Local Materials
Making coiled pine needle baskets is an essential survival skill as well as an art form. Here are 10 tips to make your baskets better.
I am a fairly young coiled basket maker. There are many “grandmother” coiled basket makers out there. I’m not one of them. But I’ve learned a bit in making several coiled baskets and I think my experience will help you avoid some of the pitfalls that I’ve encountered. I am making functional baskets that are intended to be used — not works of art that belong on a shelf, gathering dust. However, even though my first attempts at weaving pine needle baskets are not museum pieces, they capture the scent and beauty of the linen threads and the pine needles. They are a joy to touch and to use. I think you, too, will enjoy learning this timeless skill and adding coiled basket making to your repertoire of homestead skills, too.
Check out this post on utilizing local pine trees: Harvesting herbal medicine from pines on your homestead
And this post: Making Pine Needle baskets from local materials.
If you are looking for information on making willow baskets see this article.
1. Use a thread or cord that you can’t break with your hands.
I used handspun linen thread for these baskets. My first basket was a pine needle and raffia basket and the raffia kept breaking, making the whole experience frustrating. It took 5 years before I was willing to try and make another basket. I’m glad I did.
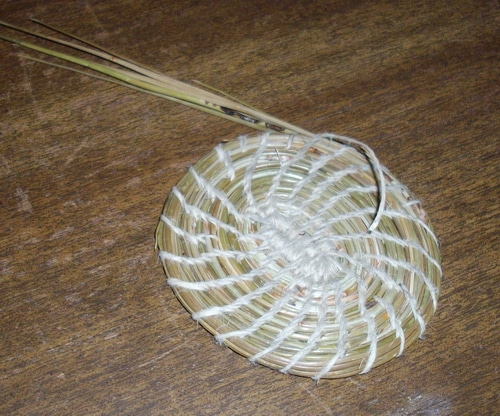
2. Linen, nettle, or hemp yarn should be waxed before using it for coiling pine needle baskets.
Waxing the thread makes it easier to pull through the damp pine needles and protects the thread from abrasion. You can wax it by taking the stub of a beeswax candle and pulling the thread over the candle’s sides a couple of times before threading your needle. Beeswax is sold in the notions department of many fabric stores. But the rounds they offer are so small that you will use it up in your first basket making attempt. A beeswax candle stub works just fine. If you want something more attractive to keep in your sewing basket look for a 1 oz. block of wax from a honey grower.
3. Pay particular attention to how far apart the stitches in your first row are.
What you do in your first row will be repeated throughout the basket. Take special care to place the stitches evenly. By the time you are building up the sides, any unevenness will be magnified.
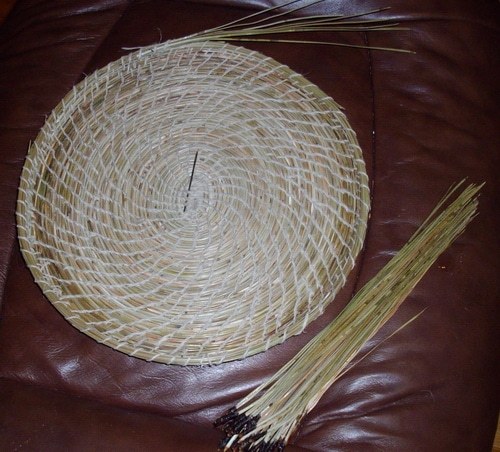
4. Try to keep the coils of your pine needle basket the same thickness – use a gauge if necessary
It’s the evenness of both rows and stitch work that gives expertly made baskets their uniform, symmetry and beauty. A bubble tea straw can be used as a gauge to keep your basket coils an even size. Just cut a 1 inch piece of Straw and insert it at the beginning of your coil, moving it along as you stitch, or add pine needle bunches. As you get to the rim you will stop using it.
5. Consider the use of the pine needle basket before you decide on its shape
When I made my first basket, a round ponderosa pine needle basket with raffia straw, we were making tiny round baskets to learn the technique. Since the purpose of the basket was simply to learn a technique only one out of the 10 baskets made at the workshop was ever finished. By deciding on a purpose for the basket, you will more likely complete the basket.
6. Many coiled pine needle baskets are made without handles – consider whether your intended use will benefit from a handle before you get to the rim.
The foundation for a handle needs to be set up with extra stitches in that handle base to support the weight of the basket with contents. Consider reinforcing this area at the beginning of your basket with extra stitches, so that as you come up to the area where you are going to create a handle, you have a strong base.
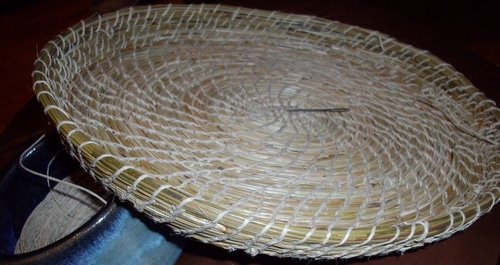
7. Placement of the coils determines the shape of the pine needle basket.
To make the base of your basket the needles are laid exactly beside the preceding row, creating a flat bottom to your basket. If you want a rounded bottom, you will lay the coils at a 45 degree angle to your preceding row. As you build up the sides of your basket you begin by laying the coils at a 45 degree angle, for a flared basket. For a basket with straight sides, you want to lay the coils exactly on top of the proceeding row. How you lay the pine needles in relationship to the row below determines the shape of your basket. Gaps can also be added to your basket for decoration or to add a carrying strap or handle, by how the coil is laid on the preceding row.
8. Increase the number of stitches per row when the proximity of the stitches won’t give stability to the basket.
This can happen in round baskets with flared sides. Consider when your stitches are too far apart to properly support the coil and the basket’s strength. At these junctures increase evenly around the coil adding an extra stitch between stitches. Straight-sided baskets won’t require additional stitches. If you are creating a vase-shaped basket you may want to decrease the shape of the basket, tightening up the coils. When this happens, you’ll want to evenly decrease the number of stitches per row.
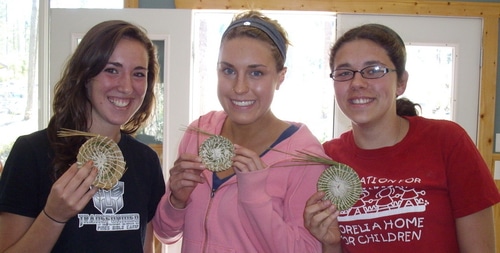
9. Anticipate the basket rim by placing the next coil row inside of the row beneath it.
This will give a lip to the basket. Add 2 more rows, bringing each row inside the preceding row at a 45 degree angle.
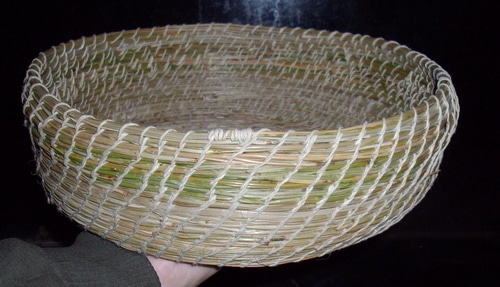
10. Make the final coil of the basket finer by 1/3rd than the other coils.
Do this by removing pine needles. Your final length of pine needles should be no more than 3 needles thick to taper the edge. Secure the last stitch by pulling the darning needle or bodkin through the middle of the coil below. Clip all the thread ends and any sharp pine needle ends that may stick out. Cut the pine needle ends diagonally so that they will lie tightly along with the coil.
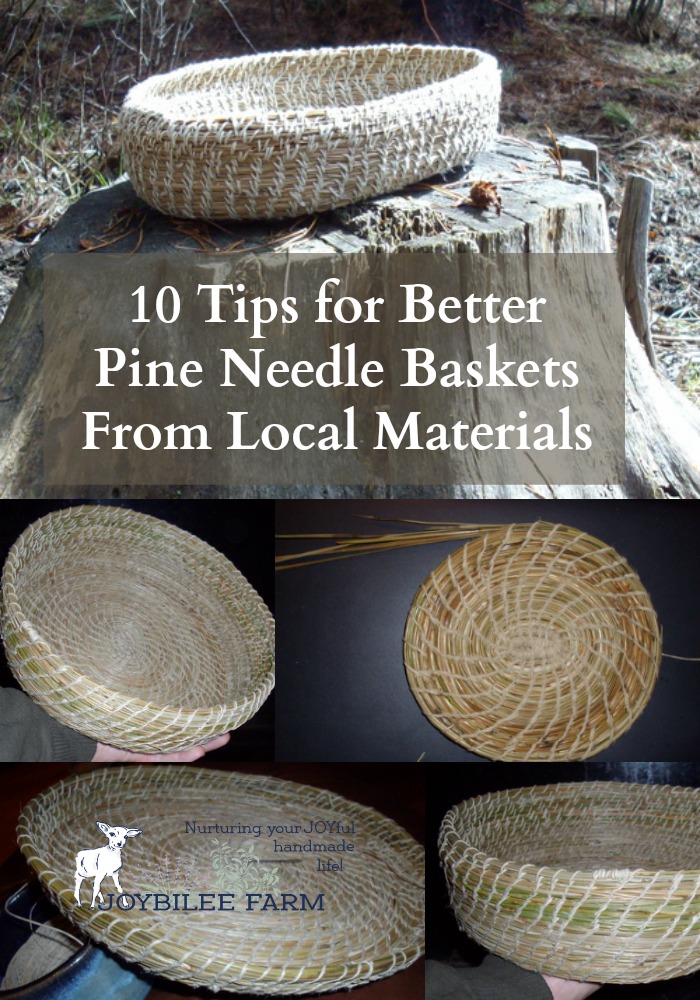
I hope this eases your learning curve for making pine needle baskets and that you are able to confidently create a few coiled baskets using materials that you harvest from your own homestead, or from a local hedgerow. Coiled baskets are among the easiest baskets to make and if you pay attention to these 10 tricks you’ll be well on your way to creating baskets that are both beautiful and functional.



Gayle, I mostly pinch the heads off with my finger nails. But I’ve seen other basket makers include them as a design feature. I think its personal preference.