So you have your eye on a pretty wood cook stove for your homestead kitchen. You have dreams of being able to cook in the winter, even when the power is off. You envision evenly brown pizza, with a chewy, crispy crust, and warm baked bread the way grandma used to make it, its fragrance filling your homestead kitchen with warmth and love. You imagine sitting in front of the oven with the door open, staying toasty warm, even as the blizzard blows outside. With a wood cook stove you don’t even need a slow cooker, the perpetual heat from the fire box can keep a pot of hearty stew warmed and simmering all day.
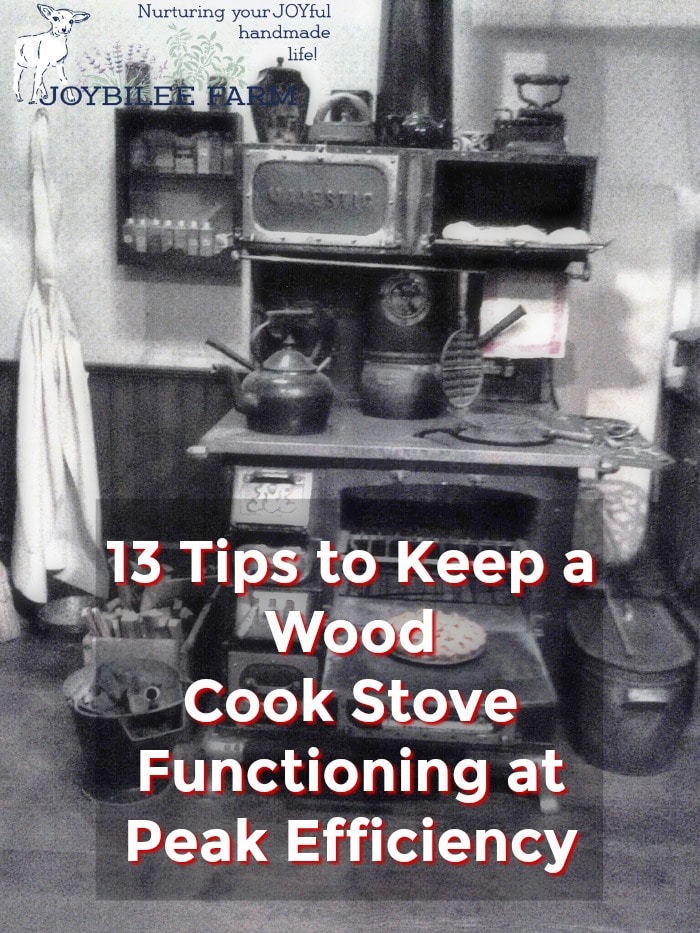
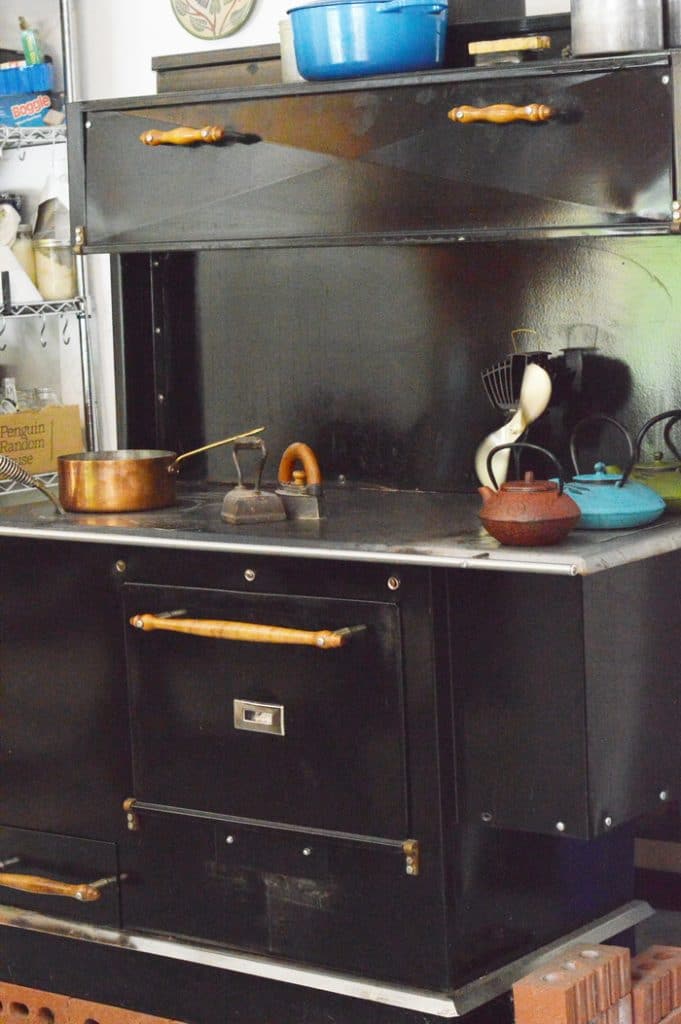
A wood cook stove is a beautiful, well crafted appliance that will add charm, warmth, and efficiency to your homestead kitchen. But, unlike electrical appliances, a wood cook stoves requires regular maintenance to work at peak efficacy.
Learning to cook well using a wood cook stove is an art that begins with using these 13 tips for wood cook stove maintenance that will keep your cook stove functioning at peak efficiency.
1. Use seasoned wood
Avoid burning paper and cardboard in your wood cook stove, except to get the fire started. Don’t use your cook stove as a trash burning barrel it will damage both the stove, and the chimney.
Avoid burning green wood by getting your wood stored for the winter before Labor Day, in spring is even better. If you get enough for two years in your first year, you will only need to bring home enough for one more year each year after that and you will always have dry wood to burn.
Although most households think they only need 3 to 4 cords of wood a year, our rule of thumb is to store 8 cords every year. In a cold, long winter you will go through 5 to 6 cords and in a mild winter just 3 or 4. This will leave you with sufficient wood in storage to always have dry wood.
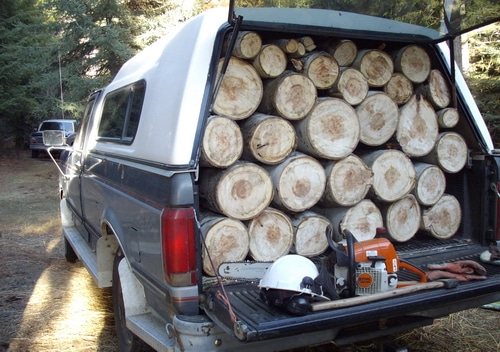
In 2017 there were bad wild fires in our province and the back woods were closed to recreational traffic in June, while the snow was still melting at the top. The back country didn’t reopen for wood cutting until mid October. The first snow came 2 weeks later. We almost missed the window for getting our wood for winter. Had we been unable to get enough wood in that 2 week period we would have been all right though. We had wood stored in advance.
2. Keep the chimney clean and free of creosote build up
Plan chimney maintenance for your wood cook stove in spring and fall so that you don’t have to climb on the roof in the snow or during bad weather. If you are burning seasoned hard wood, this will be enough to keep the chimney clean and give you good draw and perfect hearth fires. If you burn green wood, soft wood lumber, or lumber off-cuts creosote build up is more likely and you may need to clean the chimney more frequently to keep the draw optimum and prevent chimney fires.
Creosote is the tar-like substance that is the byproduct of incomplete combustion, in all wood burning heaters and wood cook stoves. It forms a dark, sticky, coating on the inside of the chimney. It is highly combustible. Most chimney fires are caused by this build up of creosote on the inside of the chimney.
If your chimney is more than 1 story tall or if you live in a very cold climate you may need to clean your chimney more often. Inspect the chimney at least once a month during peak wood burning season. You can do this by placing a mirror in the base of the chimney and looking up the flue. As the chimney plugs with creosote the opening of the chimney narrows, letting less light down the flue. If you notice a narrowing of the chimney at the top, it’s time to clean the flue.
3. Your chimney should go straight up through your roof without any bends or elbows
A straight up chimney, without elbow or bends is easier to clean and will give you a good up-draft. It is also less likely to develop dangerous creosote build up. If you are planning a new wood cook stove installation keeping this in mind will save you headaches later.
4. Allow a layer of ash build up in the fire box to retain the heat
Although you want to clean out the ash on a regular basis, keeping the ash cleaned up prevents the fire in the firebox from building up sustained heat. You need an inch or two of ash to insulate the burning logs and allow them to retain steady cooking temperatures. Once a layer of ash between 2 inches and 4 inches is achieved there is optimal sustained burning for long cooking times for baking breads or roasting meats. This will also improve your overnight burn, allowing you to get the morning fire burning by simply opening the draw — on stoves with a large enough fire box that they will maintain an overnight burn.
5. Clean out the ash pit when the layer of ash begins to affect the draw of air into the fire box
Eventually the layer of ash is too deep and smothers the oxygen that the fire needs to burn. You will notice smoke escaping from the fire box through the stove lid and the damper knobs. At this point cleaning out the ash-pit, when the fire is cold, will improve the draw, give you more efficient fires and allow your oven to maintain its even cooking temperatures.
6. Clean out the ash around the oven when you clean out the ash pit
Ash builds up around the oven in a wood cook stove, as the combustion gases circulate to warm the oven. This ash needs to be scrapped away to allow the oven to heat evenly. Your wood cook stove should come with a rake to clean this area of ash. You can tell this needs to be done if your good fire fails to heat the oven. The stove should be cold when you do this.
7. Clean out the water reservoir regularly to reduce mineral build up
Vinegar or citric acid can be used to dissolve mineral build up. Scrub with steel wool. Then rinse thoroughly and refill with fresh water. We usually do this maintenance task when the stove is cold, the ash pit has been cleaned out and the oven scrapped of build up ash — about once a month in winter.
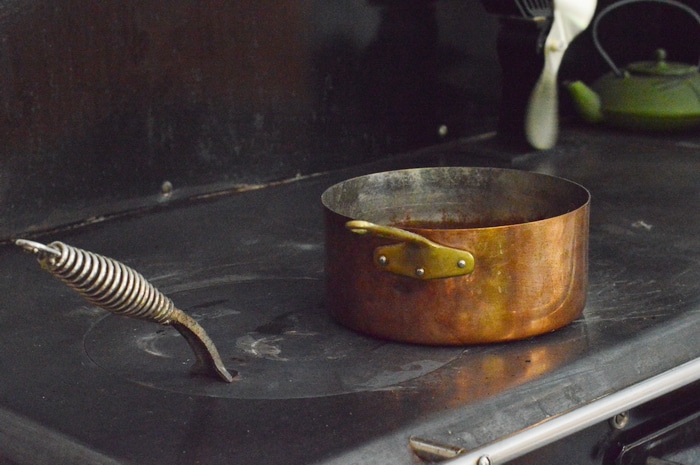
8. Spills on the cooking surface should be avoided
Don’t let pots overflow on the cook surface as any spills will leave a mark as the minerals and starch carbonize on the cooking surface. Avoiding spills in the first place will make your cleaning job easier.
9. Scrub cooking surfaces with hot soapy water and steel wool once a week
Clean the cooking surface while the stove is cool. Dry thoroughly. Some ammonia in water with soap can help cut grease build up. The manufacturer of your stove may have cleaning specifics, too. Be sure to read the owner’s manual before you start.
10. Clean oven and cooking surface with oven cleaner periodically
The oven on a wood cook stove generally stays pretty clean due to carbonizing of spilled food from the high oven temperatures often obtained during heating. Occasional use of oven cleaner on a cold oven will not harm the surface. Don’t use oven cleaner when the stove is hot as the fumes will overwhelm you. Only use oven cleaner in a well ventilated room. And avoid breathing the fumes.
11. Rub cooking surface with a saturated oil like tallow or coconut oil and bake it on to protect the surface from spills
This will trigger your smoke alarms as the oil will burn and carbonize when you heat the stove. Its an important step so don’t avoid it. It acts in the same way as seasoning a cast iron frying pan. Its very important that this oil is a saturated oil that is food safe. Don’t use a liquid oil for this job, as the smoke from burning liquid vegetable oils is carcinogenic. Coconut oil, tallow or lard are safe to use.
12. Enameled or painted surfaces should be cleaned with gentle, all purpose cleaner
Use a gentle all-purpose cleaner to remove finger prints and baked on grease. This is the one I’m using right now. Wooden handles can be waxed with a mixture of beeswax, and linseed oil to protect them or try this easy to make recipe that cleans and conditions wood.
13. Replace the fire brick in your wood cook stove as needed
The fire brick inside the fire box of your wood cook stove serves to protect the iron and steel from damage due to extremes of temperature. It holds in heat to help the fire burn efficiently and reduce the inefficient burning of combustion gases. It also improves the longevity of the wood cook stove. But over time it will crack and wear out. Replace it when it starts to crumble with manufacturer approved fire brick especially made to fit your stove.
The fire brick can be seasoned in the wood stove before insertion, to help it last longer. Talk to your stove manufacturer about this essential step.
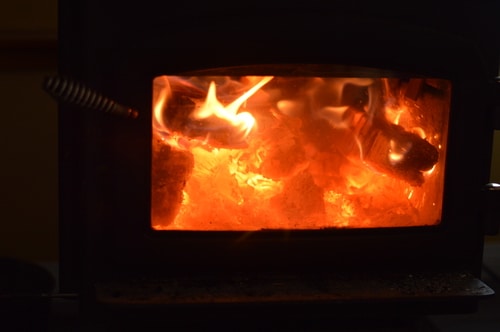
Following these tips should give you many years of enjoyment, and satisfaction from your wood cook-stove.
More about heating and cooking with wood
12 Practical Reasons Why Cooking with Wood Makes Sense
Wood Heaters vs. Wood cookstoves: How to choose
Wanted: The Perfect Wood Cook-Stove
How to Make Biochar and Use It to Supercharge Your Garden Fertility
Don’t Waste the Ashes; 10 Uses for the Ashes from Your Woodstove
How to Light a Fire in a Wood Stove Without Getting Burned



Mine smokes when we close damper to oven why