Learn how to knit socks – if you’ve knit with 4 double-pointed needles before, mastering socks will be a walk in the park. This is a very easy-to-knit sock for advanced beginners.
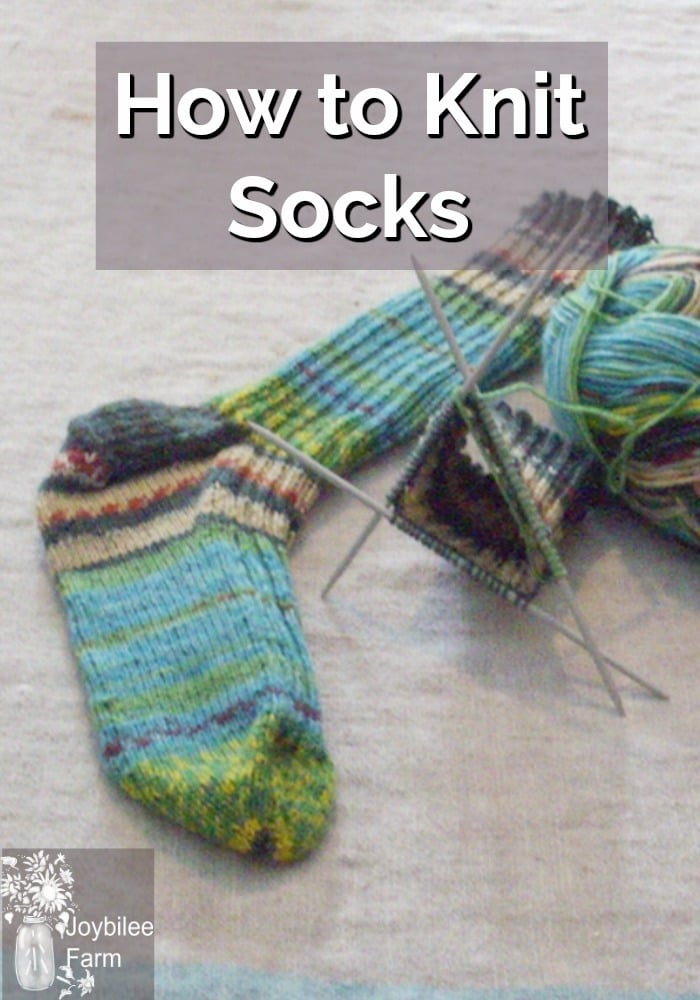
It’s almost time for wool socks, sweaters, and toques (stocking caps for those of you in the USA). Handknit socks are the luxury of those who understand and practice the lost arts of self-reliance. For the uninitiated, they are a tubular sculpture with a fitted heel and a seamlessly closed toe. For the recipient, they prove love and thoughtfulness, like no other gift.
Hand-knit socks, like other handknit garments, have a basic structure to their shape. The pattern can be embellished with special stitches or left plain because of fancy, space-dyed yarns, but the basic structure remains the same. If you’ve knit with 4 double-pointed needles before, mastering socks will be a walk in the park. But if you’ve never knit in the round on 4 needles, the practice can seem mysterious, and a bit frustrating. That’s when you realize that knitting on 4 needles, in the round is the same as knitting on two. You only ever knit with two needles at a time. The other 2 needles just hang there, waiting for you to come around to them.
This post assumes you know how to cast on and how to make the knit stitch and the purl stitch. For a refresher check out:
How to Cast on 4 double pointed needles
I’m using Opal sock yarn, because of loving the colourways and because it will self pattern. Kroy or Regalia are less expensive and similar in weight and patterning. The final socks look like Fair Isles Knitting but only require knowing the knit stitch and the purl stitch. This is a very easy-to-knit sock for advanced beginners.
To make a pair of socks you’ll need 1 set of 3mm double-pointed needles (dpn) and 1 skein/ball of self-patterning sock yarn. I prefer to use wooden dpn Knit Picks 6″ Rainbow Wood Double Pointed Knitting Needle Set because the wood absorbs the warmth of your hands and I find them less stressful. Steel needles tend to be cold when you first pick them up and can chill the muscles of your fingers, making your fingers hurt with the repetitive motion of knitting with fine yarns.
The first step is to determine your gauge. Choose the needle size you need to get the same gauge that the pattern calls for.
Gauge:
Gauge: 8 stitches per inch (2.5 cm) in stockinette, 10 rows per inch (2.5 cm.)
Directions:
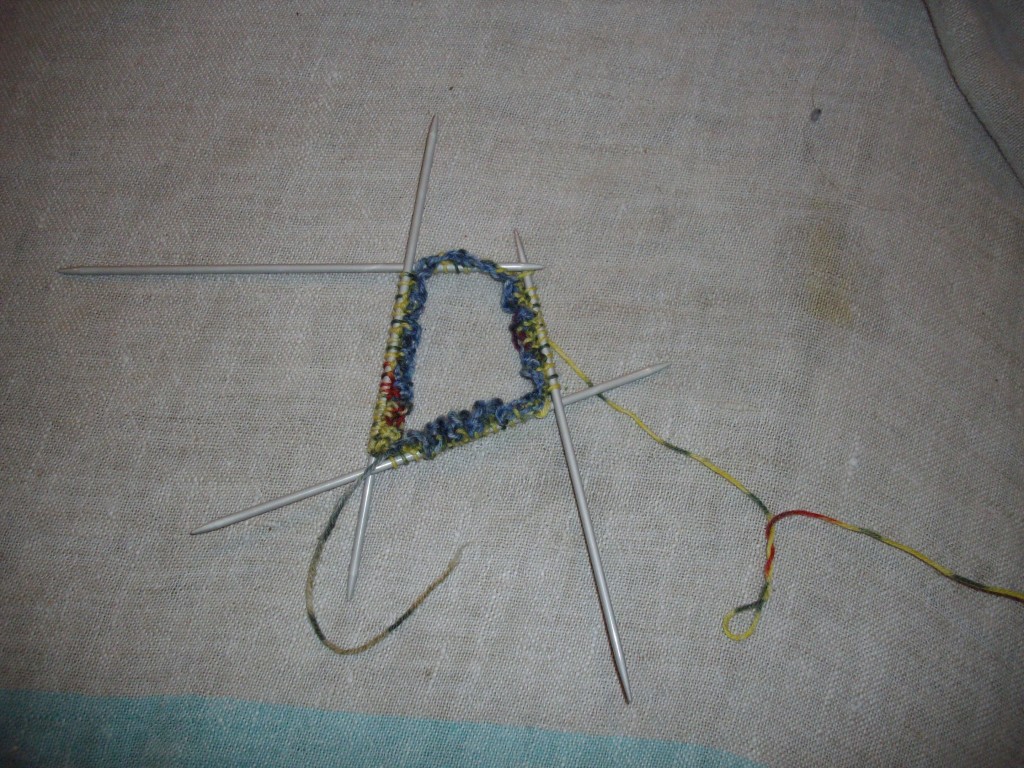
CO 64 + 1 stitch, over 2 needles, using a stretchy cast on. I cast on by knitting the stitch and slipping it back on the two needles, held parallel. Slide 24 stitches on the 1st dpn, 20 stitches in 2nd dpn, slip out one of the two parallel needles leaving 21 stitches on the third dpn. Join in a ring, being careful not to twist the stitches when you join.
Round1: K2, P2 around the ring until you get to the last stitch. You will knit the stitches on each needle in turn. The final stitch (the +1 stitch) is slipped on to dpn #1, from dpn #3. This stitch and the first stitch on dpn #1 are K2T. This closes the gap in the ring and cleans up the first row.
Round 2: Continue in the k2, P2 rib pattern, by knitting the 2nd stitch on the needle and then P2, K2, P2, K2, P2, etc. around.
Round 3: K2, P2 around.
Tip: Each time you move from one dpn to the next dpn, pull up a bit tighter on the first two stitches on your new dpn. This prevents loose stitches and weakness in your fabric — the laddering effect between needles.
Continue in K2, P2 ribbing until 9 inches have been knit or until you come to the end of your pattern repeat in the Opal Sock yarn.
*Make a note about where your pattern repeat in the Opal sock yarn begins. This will be important information for the second sock if you want matching socks.
How to knit socks: Cast on and working the cuff
How to knit socks: The heel flap
Once you’ve knit the cuff you are ready to begin separating your stitches to knit the heel flap. This is where your sock changes from looking like a tight tube to taking the 3-dimensional sculptural form of a sock. It’s my favourite part of the sock knitting game.
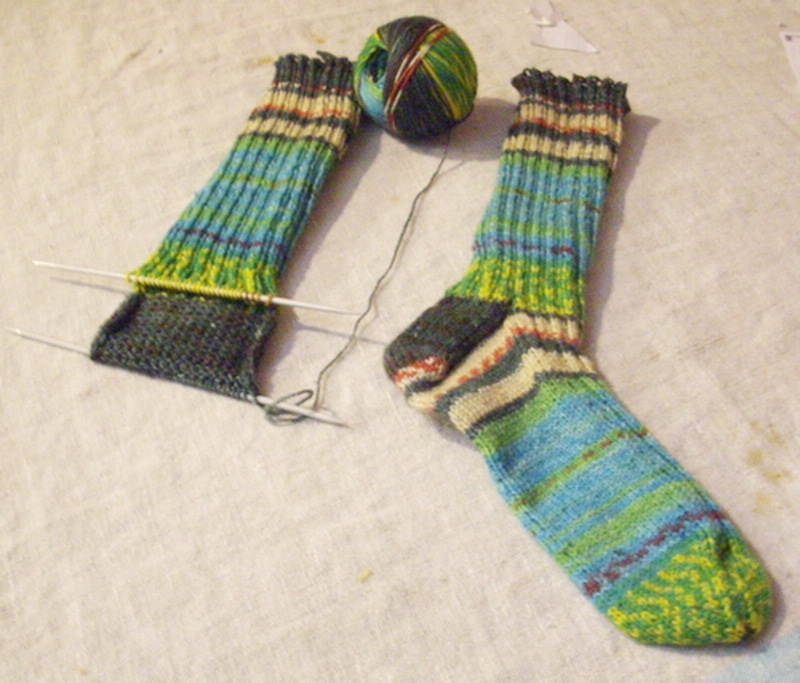
Heel flap:
Work back and forth on 32 heel stitches as follows:
Row 1: *Slip 1 purlwise with yarn in back, K1* repeat from *
Row 2: Slip 1 purlwise with yarn in front, purl to end.
Repeat Rows 1 and 2 until 32 rows have been worked, there will be 16 chain selvage stitches.
How to Knit Socks: Turning the Heel
Once you’ve to the heel flap made you are going to turn the heel, using a reinforced stitch that makes the heel stronger and less likely to wear out. I like to pull the stitches on the heel extra tight as I work around the sock, at this point, just so that it is as strong as possible.
Turn Heel:
Row 1: knit across 18 stitches, ssk, k1, turn work
Row 2: Slip 1 purlwise, p5, p2T, p1, turn
Row 3: Slip 1 purlwise, knit to 1 stitch before gap, ssk (1 stitch from each side of the gap), k1, turn
Row 4: Slip 1 purlwise, purl to 1 stitch before gap, p2T (1 stitch from each side of gap) p1, turn.
Repeat rows 3 and 4 until all heel stitches have been worked, ending with a purl row and ending p2T if there are not enough stitches to p2T, pl. 18 stitches remain on the heel flap.
How to Knit Socks: Picking Up and Knitting the Gussets
Heel gusset:
Knit across all heel stitches, and with the same dpn (needle 1), pick up and knit 17 stitches along the edge of the heel flap (16 chain stitches plus 1 stitch in the gap between the heel flap and the instep stitches). With needle 2 work across the held instep stitches in K2, P2 rib.
With needle 3 pick up 17 stitches (plus 1 stitch in the gap between the heel flap and the instep stitches, and the 16 chain stitches on the other selvedge of the heel flap) and knit across 8 heel stitches. Total stitches 84. Your round now begins in the centre of the heel.
Tip: These instep stitches should always be worked in K2, P2 ribbing until you begin the toe of your sock. The foot stitches on dpn #1 and 3 should always be worked in stockinette (knit every stitch).
Tip: Each time you move from one dpn to the next dpn, pull up a bit tighter on the first two stitches on your new dpn. This will close any gap between the needles and give you a firm foot to your sock, reducing wear later.
Round 1: Knit to last 3 stitches on dpn #1, K2T, k1; On dpn #2: *knit 2, purl 2* to the end of the instep stitches. On dpn #3: K1, SSK, K to the end.
Round 2: Knit on the dpn #1, On dpn #2: *knit 2, purl 2* to the end of the instep stitches. On dpn #3: Knit to the end.
Repeat rounds 1 and 2 until there remain 64 stitches. The heel is complete.
How to knit socks: Knitting the foot
This next part goes quickly. You are going to work in stockinette on the sole of the foot and in ribbing on the instep (top) of the foot. Keep going until the sock is just 2 inches less than the length you are aiming for.
Foot: Work evenly in stockinette (knit every stitch) on dpn #1 and #3 and Knit 2, purl 2 rib on the instep stitches (dpn #2.) until foot measures 8 inches from heel flap or 2 inches less than the desired foot length.
How to knit socks: Decreasing for the toe
Toe: Change to stockinette throughout. From here on knit every stitch.
Round 1: On dpn #1, knit to last 3 stitches, k2T, K1, on dpn #2, K1, ssk, knit to last 3 stitches, k2T, k1, On dpn #3, k1, ssk, knit to end — 4 stitches decreased.
Round 2: Knit.
Repeat rounds 1 and 2 until there remain 16 stitches, finishing on dpn #2.
How to knit socks: Making a seamless toe finish using Kitchener stitch
Graft toe closed using Kitchener stitch:
Kitchener stitch. Slide the 4 stitches from dpn #1 onto dpn #3. You will have 8 stitches on dpn #2 and 8 stitches on dpn #3. Break off yarn leaving a 12-inch tail. Thread tail through a large-eyed darning needle.
Holding dpn #2 and dpn #3 parallel so that your threaded darning needle is on the right, and your last stitch worked is also on the right.
Step 1: Bring a threaded needle through the front stitch as if to purl, leave the stitch on the needle.
Step 2: Bring a threaded needle through the back stitch as if to knit, and leave the stitch on the needle.
Step 3: Bring the threaded needle through the same front stitch as if to knit, and slip this stitch off the needle. Bring the threaded needle through the next front stitch, as if to purl and leave this stitch on the needle.
Step 4: Bring the threaded needle through the first back stitch as if to purl, slip that stitch off the needle, bring the needle through the next back stitch as if to knit and leave this stitch on the needle.
Repeat steps 3 and 4 until no stitches remain on the needles. Take the thread through the inside of the sock. Turn the sock inside out and carefully weave the remaining thread through the back of the stitches for two inches, on the inside of the sock to hide the end. Cut off the remaining thread. Weave in the loose thread at the start of the sock. One sock complete.
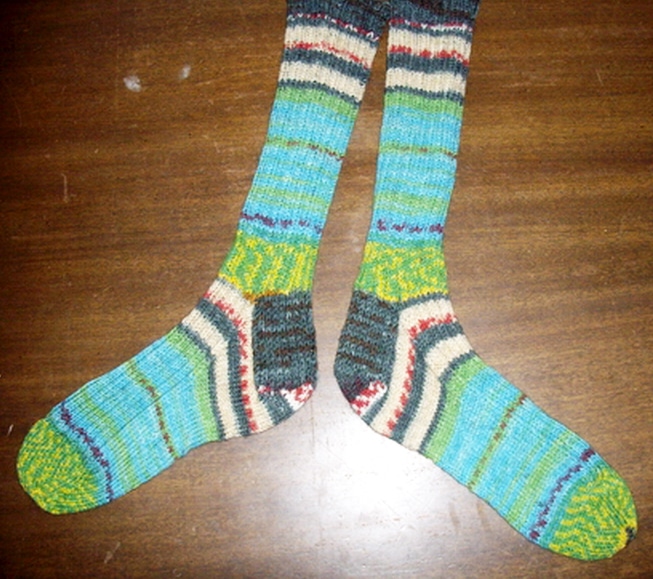
Make sock number 2 exactly like sock number 1
Important: If you want two matching socks, when you begin sock #2 find the pattern repeat in the Opal sock yarn and begin the second sock at the same place in the self-patterning colourway, that you began the first sock. Reserve any remaining yarn. Follow the pattern as for the first sock, being careful to begin the heel flap at the same place. Save extra yarn for darning your hand-knit socks later.
Newsletter Subscribers can download the free pattern here.



Lovely pattern and I can’t wait to make them!
Are these socks for men or women? I can see how to easily change the sock length for different sized feet, but how do you ensure you cast on enough stitched to fit a larger foot?